The Culinary Musings of a Good Eater

Casual glimpses Into the life of a good eater

Every last bite, gulp and delicious slurp for your viewing pleasure.

Thursday, February 10, 2011

Enchilada venado (venison enchiladas)

I am in the process of swapping out our meat stock in the freezer. I just bought 8 racks of baby back ribs, so I had to clear some space in the freezer. Out with the venison and in with the pork. The first to be thawed was a large section of hindquarter. This was at least a 4-5lb section that I had boned out and butterflied. Even after the venison meat sauce/chili experiment, I still had quite a bit left over. I took a look a Chef Scott Leysath's very cool site, HuntFishCook, to get some ideas. While I didn't actually use his venison enchilada recipe, it did give me the idea for what I should do.

Day 1

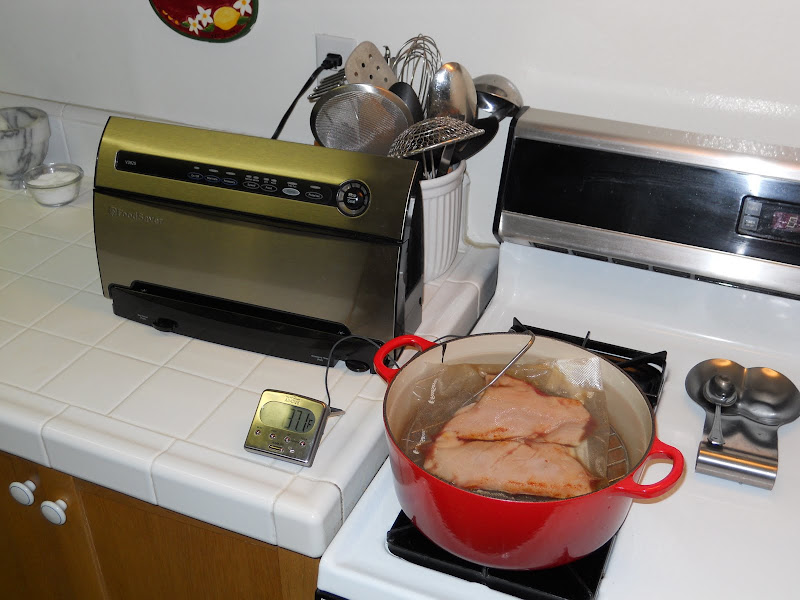
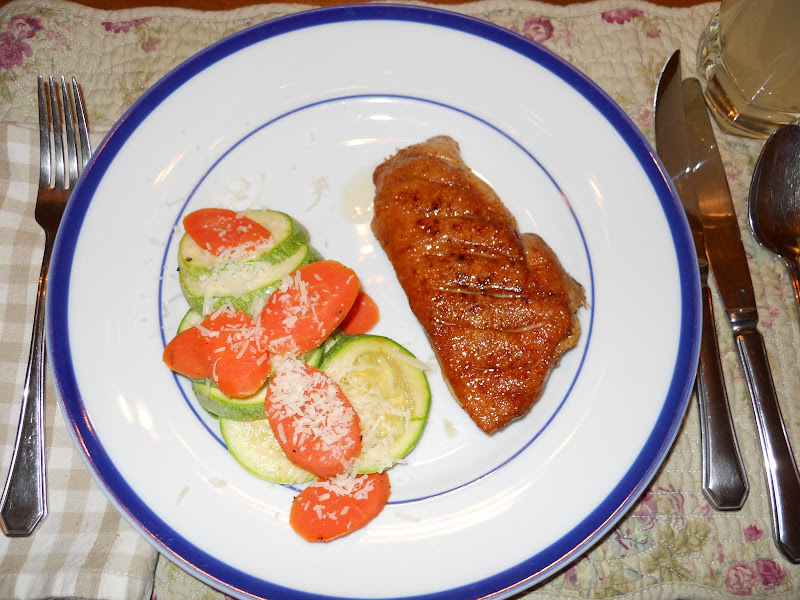
The first step was to cook the venison. As lean as the meat was, I was reluctant to actually roast the venison. I decided to braise it instead. I cut the venison into large chunks to reduce the cooking time. Seasoning was pretty much my standard; salt, pepper, Cayenne pepper, smoked paprika and granulated garlic. I also used some Mexican oregano and cumin.

From The Hollow Leg Diner - images

The meat was seared on each side in a little lard and then removed from the pan. I had diced an onion, sliced a few jalapeños and crushed several garlic cloves. All of these got a quick sweat and then I deglazed the pan with some sherry. The meat went back in the pot along with a splash of cider vinegar and beef stock. After about three hours the venison was fork tender. Once cooled, I shredded it and then added all the pan juices back to the meat. I also re-seasoned at this time.

From The Hollow Leg Diner - images

Day 2

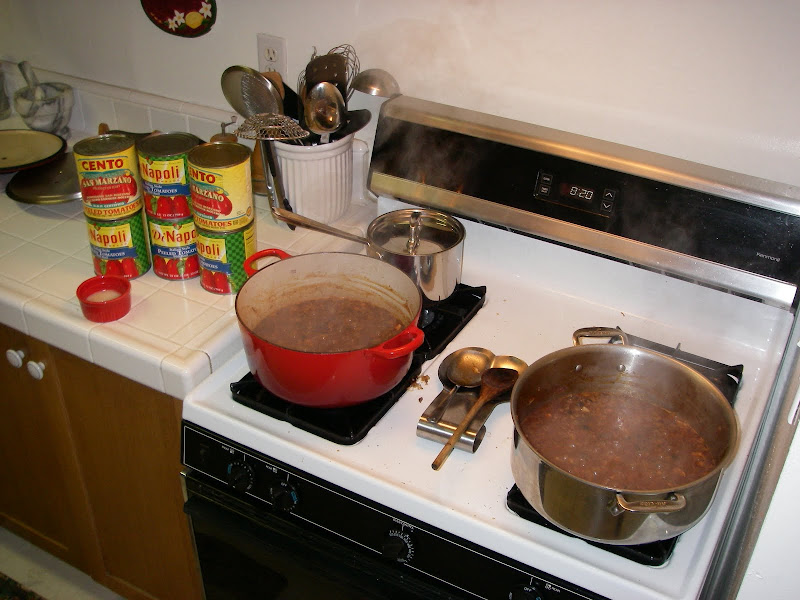
I started out by making the enchilada sauce. This step took me several hours, but it could go much faster. You can just use canned enchilada sauce if you want. I just like doing things from scratch sometimes. I removed the stems and seeds from about a dozen of each of Japonese, California and New Mexico chiles. I also used 5 or 6 ancho and morita chiles. The chiles were lightly toasted and then simmered in 2 quarts of beef broth for an hour or so. When the chile were soft, I pureed them in the blender. The beef broth was added to thin out the puree. When making the enchilada sauce like this, it is best to press the puree through a chinois or mesh strainer to remove the little pieces of chile. The next step was to sweat some diced onion, jalapeño and garlic in pork lard. When the onion softened I added a small can of tomato paste and seasoned with salt, pepper and Cayenne. As soon as all the liquid evaporated I added a quart of beef broth. This was reduced by half and then pureed in the blender. The tomato puree was returned to the hot pot and the chile puree was added until I got the desired taste and consistency. I only used about half of the chile puree that I had made. The rest will be used for the venison chili I'll be making next week. This mixture was simmered for another hour or two.

From The Hollow Leg Diner - images

Once the enchilada sauce was done, it was time to make enchiladas. The shredded venison was mixed with some enchilada sauce, a couple of cups of grated Monterey jack and mozzarella cheese and about a cup of crema Salvadorena (sour cream is a suitable substitute). I don't know the exact measurements; I just eyeball this part. You want the enchilada filling to have enough cheese and sour cream to be smooth and creamy without being runny. This is also the last chance to season. I added more salt, Cayenne, paprika and garlic to 'kick it up' a bit. At this point you want to start dropping your flour tortillas (I prefer flour, but corn also work)in the enchilada sauce. Very fresh flour tortillas just need both sides covered with sauce. Corn or inferior flour tortillas need to spend a little time in the sauce to soften up. Add a thin layer of enchilada sauce to the bottom of a baking dish (greased will prevent scorching and ease clean up). The enchilada filling is spooned onto the tortilla and it is rolled up. Remember; if you fold over and close the ends it becomes an enchirito, not an enchilada. The amount of filling is dependent on the size of the tortillas and how sloppy you want the meal. The rolled enchiladas are placed, side-by-side, in the baking dish. When the baking dish is full, you drizzle some of the sauce over the enchiladas and top with shredded cheese. In a nod to the Taco Bell enchiritos that I used to love when I was a kid, I top the enchiladas with thinly sliced green onions, sliced black olives and a mix of shredded yellow and white cheese (cheddar, jack, asiago & mozzarella). I cover the pan with non-stick foil and heat in the oven at 350 for about 30 minutes. The foil is removed for the last few minutes to make sure the cheese gets all gooey and starts to brown a little.

From The Hollow Leg Diner - images

Because the enchiladas are so rich, I thought it would be good to have a slightly bitter veg to go with them. As luck would have it, I had some Brussel sprouts. I sauteed the sprouts and green onion slices in butter and olive oil and then deglazed the pan with white wine. The sprouts were seasoned with salt, Cayenne and black pepper. I added about a half cup of water and covered the pan. When the sprouts were tender I added some cream and let it go on medium heat until the sauce thickened.

From The Hollow Leg Diner - images

I garnished the plate with a little salad of finely sliced cabbage dressed with a pico de gallo.

From The Hollow Leg Diner - images

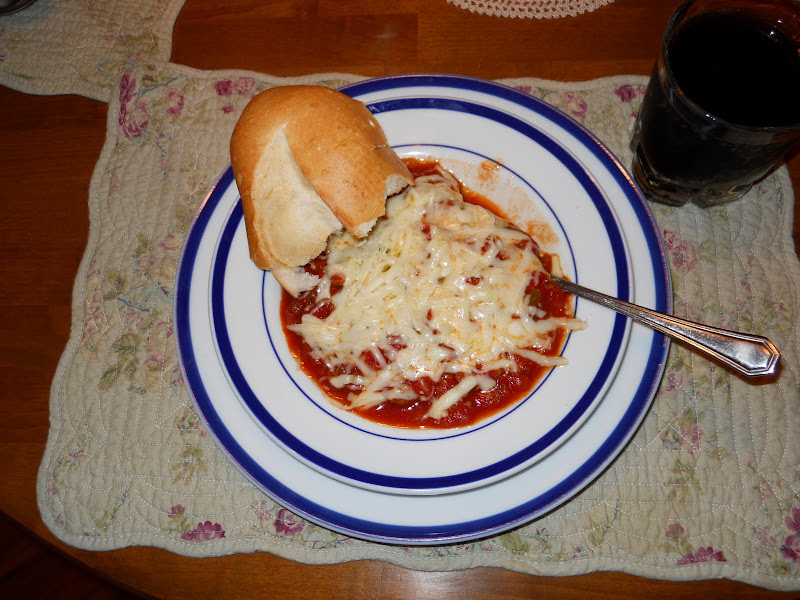
A lovely and tasty dinner. Yum.

From The Hollow Leg Diner - images

Venison chili....or is it a meat sauce?

I really don't know how to describe this one. I broke out the first of the venison hindquarter meat and wanted to see how it would cook up. I know that you can cut steaks from the hams and quickly pan sear or grill them. I was wondering how much heat/time I had to play with before small strips of this ham would get chewy. It turns out, not much at all. I threw some into a hot pan with some diced onion and, before the onion had even started to sweat, the meat had gone chewy. Well now I know. Stick to steaks and don't go more than medium rare. I didn't want to waste the meat, so I decided to keep going with a really slow cook, until the meat became tender. I added some garlic, Anaheim and jalapeño chiles and a bunch of seasoning to bump up the flavor. When the veg had softened, I deglazed with a little sherry and then added tomato paste. When the tomato paste was mixed in and had started to cook, I added about four cups of beef stock. I reduced the stock by about half and then added a 16oz can of diced tomato and a 16oz can of Pato brand spicy tomato sauce. The sauce was extremely spicy, so I added a couple of tablespoons of honey. This was simmered, uncovered, for several hours, until the meat had become tender and the liquid reduced. The end result was more like a meat sauce than a chili. It was very spicy, but the heat was offset by the slightly sweet notes of the honey. The hot and sweet flavors worked well with the taste of the venison. I served it like a chili size, topped with cheese and with a chunk of sourdough bread to soak up the juice. This would have been just as good on top of a pasta.

From The Hollow Leg Diner - images

Fajitas


From The Hollow Leg Diner - images


Chicken fajitas.

Minced chicken seasoned with Cayenne pepper, smoked paprika, garlic power, Mexican oregano, cumin and a splash of cider vinegar. White onion and poblano chiles for the veg. Cast iron pan, lard, heat, squeeze of lemon, done and yummy.

From The Hollow Leg Diner - images

Served on corn tortillas with frijoles negro refrito, salsa guacamole and sprinkled with cilantro.

Cuban sandwiches

So, I'm strolling through the meat department at Von's and what should catch my eye? Cheap ham!!! Every so often, Von's will have Farmer John hams on sale for some insanely low price, like 97 or 99 cents/lb. Last week they had whole, bone-in hams on sale and I just couldn't pass them up. I picked up a 22lb ham for just over 20 bucks. As usual, Lupe busted my chops for bringing home another ham, but I paid no mind to her protestations. "We don't have room in the fridge" We just had ham last week" "We had a ham the week before" yada yada yada. Doesn't she understand? 22 pound of ham for 20 bucks! How can I pass that up? I told her; "Don't worry. We'll have your whole family over for a meal and then we won't have to worry about not being able to close the refrigerator door. Jeeeeesh; she worries about such little things all the time.

Invitations went out to Familia Lopez and I cranked up the new BBQ. At some point after the purchase of the ham, I decided that I also needed to buy 10lbs of pork shoulder. With the pork shoulder in hand, it occurred to me that I had the makings for Cuban sandwiches. While I didn't have true Cuban rolls, I did pick up a load of bolillos from Northgate. I just needed Swiss cheese and pickles and I would be set. Fortunately, I had been experimenting with making dill pickles last week, so I had several jars in the fridge. All set and ready to Q.

I used my flavor injector to add some yummy tastiness to both the ham and the pork. I injected mojo criollo into both and then rubbed with same. I loaded the ham and pork onto the BBQ for their long journey to Flavortown. A mix of hickory and maple chunk wood was used for smoke. I even added sugar cane at the end for a little Caribbean flavor. Throughout the day I also basted the meat with mojo criollo marinade.

I worked on the side dishes while the meat was smoking. I made a ton of frijole negro in the slow cooker. I started by searing some chunks of heavily spiced pork belly in a cast iron skillet. When these were partially cooked, I removed them from the heat and set aside. I then cooked some thick-cut, lightly cured bacon in the same pan. As I had no smoked ham hocks, the bacon was going to stand in in it's place. The beans (4 cups) went in the slow cooker along with the bacon, a diced red onion, a handful of garlic cloves and 4 or 5 morita chiles. The chiles would provide the heat and, along with the bacon, some smokiness. As usual, chicken stock was used as the cooking liquid. When the beans were nearly done, I added the salt and tossed in the chunks of pork belly to finish cooking.

I had Lupe and her sisters make a large pot of calabacitas to go with the meat. While the calabacitas cooked, I removed the pork from the BBQ and shredded it. We also made some avocado-tomatillo salsa to go with the meal. When everything was ready, we warmed up about a billion corn tortillas.

From The Hollow Leg Diner - images

We got everybody served with pulled pork tacos, sliced ham, calabacitas and frijoles before I started making the Cuban sandwiches. I had two cast iron pans heating on the stove. In these, I put sliced ham topped with Swiss cheese. I covered the pans to steam and melt the cheese. When the cheese was thoroughly melted onto the ham slices, they were removed and placed onto the bread.

From The Hollow Leg Diner - images

The bread was spread with yellow and dijon mustard and then pulled pork was piled on top. The homemade pickle was added and then the sandwiches were brushed with spicy melted butter. The sandwiches were returned to the pan and then I used the other hot pan to squash them flat. Who needs a panini press anyways?

From The Hollow Leg Diner - images

I think everybody enjoyed the Cuban sandwiches. I even made a bunch of to go orders, so people could have at work the next day.

Cubanos = awesome

Tuesday, February 1, 2011

The new Q

Now that we are living in a house I can finally have a bar-b-que. Six damn years in an apartment that wouldn't allow grills or bar-b-ques. Nobody should have to endure such deprivation. Well, my years of wandering in the desert are over; I now have a Q. It was just a cheapo barrel-type from Lowes, but it holds fire and meat, so that's all I need. Of course, I needed the side fire box too. This thing is awesome. It has cast iron grates so I can get killer grill marks. I love it. I seasoned the grates the other night while I was making a meat sauce. That only took a couple of hours. I had intended to cook some ribs on it, but it took a while to assemble and then season. I started a couple of racks of ribs in the oven and, when the grill grates were ready, I took them out to finish on the que. Did I mention it's awesome. Just ask Lupe.

From The Hollow Leg Diner - images

Mmmmmmm! Ribs. Nom, nom, nom, nom, nom!

Chicken Parm as far as the eye can see

We decided to throw a little party for Lupe's sister's birthday. As with everything around here, this quickly got out of hand. We started with just a quiet birthday dinner for Lorena and before long, we were planning on a dinner for 21. Nothing is ever simple. I jumped into the meal planning with both feet. Fortunately, I already had most of what I would need to make a nice Italian dinner. I guess that says something about me, that I just happened to have enough food on hand for a dinner for twenty.

I started making the meat sauce on Saturday evening. I love making meat sauce, but it takes a while to do it right. This is a brief run-down on the process:

Brown a pound or two of Italian sausage. Break up the meat thoroughly while cooking.
Season well with red pepper, salt, pepper, granulated garlic, anchovy paste and Italian seasoning
Add diced onion, garlic and mushrooms (sometimes some finely diced carrot) and cook until they start to soften.
Add tomato paste - a whole can.....I like the very intense tomato flavor.
Deglaze with a cup or two of Chianti. Reduce until liquid has evaporated.
Add several cups of beef stock. I let this reduce until 2/3's of the liquid is gone.
Add tomatoes (San Marzano are best) and sliced black olives.
Simmer for 3-4 hours.

From The Hollow Leg Diner - images

Prep - Day 2

I started the day by boning and trimming 25-30 chicken thighs and a half dozen breasts. I know that chicken Parmigiana is normally made with breasts, but I like using thighs. They have more flavor than the breasts and they stay moist and juicy. After they're boned, I pound them out just enough to get an even thickness. The chicken pieces are heavily seasoned with Cayenne, granulated garlic and salt. I let them sit long enough for the salt to draw out some of the juices. This ensures that the seasoning will get into the flesh and the flour will stick.

From The Hollow Leg Diner - images

I dredge them in flour, shake off the excess and let them sit until the flour sets. After that they get a quick dip in an egg/milk mixture and then are coated with a mixture of seasoned bread crumbs (regular and panko).

From The Hollow Leg Diner - images

They are fried until GBD and then removed to a cooling rack. I immediately salt the chicken and top with provolone cheese. These can be held until it is time to assemble the finished dish.

From The Hollow Leg Diner - images

While waiting for Lupe to to bring home the zucchini, I put together the antipasti salad. Lupe and I have gotten quite fond of this of late. We use three different types of salami, peperoncini, artichoke hearts, green olives and provolone cheese. I made a very nice Romano cheese dressing for the salad.

Lupe and Lorena sliced a ton of zucchini as I put the chicken parm together. I lined the bottoms of three large roasting dishes with meat sauce. The chicken pieces went in and were topped with more sauce. I sprinkled them liberally with grated Romano cheese (I somehow forgot to get Parmesan cheese for the chicken Parmigiana......scandalous) and topped each piece with some fresh mozzarella. Amazingly, there was more chicken left over. That made for some tasty sandwiches later in the week.

With the chicken in the oven I was able to start the sauce for the pasta. I Sautéed some onions, shallots and garlic in duck fat (go big or go home) and then added crimmini and shitake mushrooms. When the mushrooms had softened I deglazed the pan with a cup of white wine. When the wine had reduced, I added a couple of cups of cream and brought to a boil. I held this as I dunked a ton of fettuccine noodles. The zucchini were steamed over the pasta water when the noodles were done.

By this time the chicken parm was ready.

From The Hollow Leg Diner - images

As the parm rested, I got busy making garlic bread. As always, I used sourdough loaves for the garlic bread. I rub the crust with fresh garlic, split the loaves and brush the tops with seasoned (Cayenne, garlic, Italian seasoning) melted butter. The split loaves go in the oven for a few minutes to warm up. I take them out and sprinkle with grated Romano cheese. Back under the broiler to melt the cheese and it's off to Tasty Town.

Somehow all the elements of the meal came out right on time. I don't think I've ever cooked for so many and had the timing work out so well.

From The Hollow Leg Diner - images

I'm pretty sure the food was well-received. For the first time in my memory we had Familia Lopez eating in silence. I've never seen that before. Usually a Lopez dinner is a fairly high-volume event. This time it was silent. Nothing but the sound of twenty mouths chewing. Now that's quite an achievement. The sound of victory...nom, nom, nom, nom.

Duck therapy

What do you do after having the worst week ever? Actually, not the worst week EVER.....I've had some pretty crappy weeks over the years. How do you ease the frustration, calm the anger, heal the wounds when you've just been kicked in the emotional crotch. I've turned to different things over the years. I used to just beat the crap out of myself physically. I'd go for a long, punishing bike ride, an extended hike in the mountains, or an arm-burning all-day paddle session. Your troubles just don't seem that bad when you're about to collapse from exhaustion. I'm not really in good enough shape to do that sort of thing these days. I've had to find a new outlet to divert my attention when things are going south.

Cooking has always made me happy. I like being able to create good food that others can enjoy. It makes for quite the diversion when I'm unhappy. Making a large meal for lots of people can be remarkably therapeutic. Not only am I making others happy, after an all-day cook-a-thon I usually am too tired to worry about anything. Really a win-win solution all around.

After my crappy week, I found it very difficult to even take the first step into the kitchen. It was like all the life had been sucked out of me. I just gave up and had fast food for a couple of days. I finally came to the realization that I was going to have to do something to break myself out of this funk. I had to do something new and different. I had to spark the flame.

As luck would have it, I had just seen something on Chef John's Food Wishes site that had peaked my interest. He did a low-tech stove-top sous vide duck breast that looked delicious. That was just what I needed. I had a mission. Duck to the rescue.

More luck; Von's had duck on sale. I got a couple of nice sized ducks and headed home to try something new. It was actually pretty straight-forward. I have a vacuum sealer, so I didn't have to mess around with zip-loc bags. I found a round, two-piece rack that fit just perfectly in the bottom of my Dutch oven. The rack kept the bagged duck breasts off the bottom of the pot and allowed the water to circulate all around. I gave the water a stir every few minutes to keep things at an even temperature. I used my probe thermometer to monitor the water temp. With the burner on 'low' I was able to maintain the water between 135-138 with little effort.

From The Hollow Leg Diner - images

As the duck breasts cooked in the water, I oven-roasted the legs and thighs. This is another Chef John technique that I've used before. The legs are wrapped in foil with garlic and tarragon and cooked in a slow oven. After they are tender, you give them a quick sear to crisp up the skin. Same goes for the breasts when they are taken out of the water. Add some steamed veggies and you have yourself a tasty meal

From The Hollow Leg Diner - images

It was a simple little meal, but it got me out of my funk. I found myself reinvigorated. In the week that followed, I have done all sorts of crazy stuff in the kitchen. It's amazing what a little duck therapy will do for you. That was just what I needed to get my head straight.